Your Cart is Empty
Free Shipping and Returns on ALL U.S. orders!
Calligraphy is the hottest DIY wedding project trend that will be around for some time – whether it’s for your invitations, thank you cards, place cards, or even your menus. Before you bust out your tools, take a step back and read through these tips first.
Can you do it?
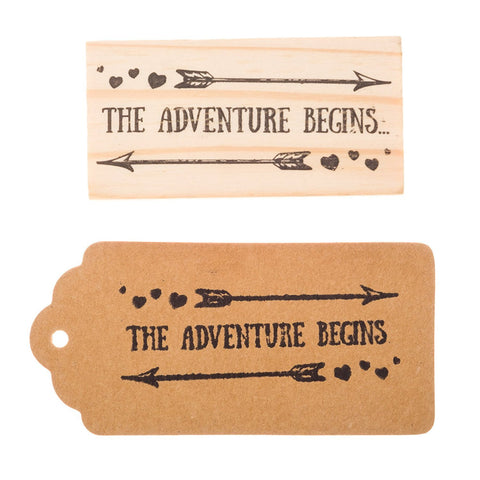
Don’t shy away from this question and don’t lie about the answer too! There’s no shame in admitting that your handwriting leaves much to be desired. Besides, calligraphy isn’t the only thing you can DIY. Pick out a DIY wedding project that matches your skills. You can also use our wooden rubber stamps to save you time.

Pick your style decisively.
Have you honestly answered the question above? If you answered yes, congratulations! Now, it’s time to get to work.

Give yourself a deadline for selecting your font. Two weeks, perhaps? Allow yourself to go crazy in Pinterest but narrow down your selection to three eventually. Then from that, choose which one you like the most.
We’re not gonna go into details about your preference – romantic, minimalist, bohemian, Bauhaus – that’s completely up to you. However, we need to emphasize decisiveness here because DIY wedding projects take time.
Give yourself time to master the skill.
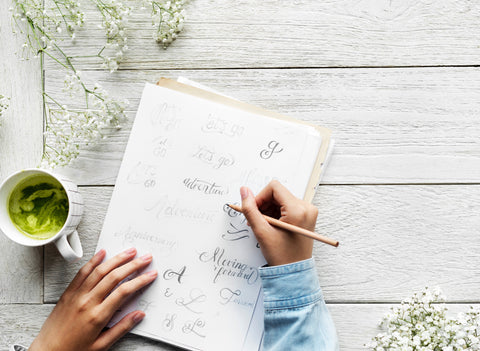
You’ll need a few weeks to get a hang of calligraphy if you’ve never done it in your life. Maybe if you practice fulltime, but only a few of us have that luxury.

You’ll commit errors along the way, so be kind to yourself. Practice on scratch paper first. Start gradually and document your progress. Finally, don’t strive to just get it right. Get it right consistently because you’ll be doing it a lot!
Choose the right tools.
Some first-timers end up frustrated with their work even if they follow all their tutorials to a T. With calligraphy, the right tools can spell the difference.

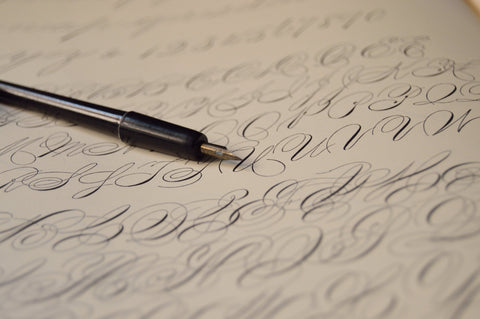
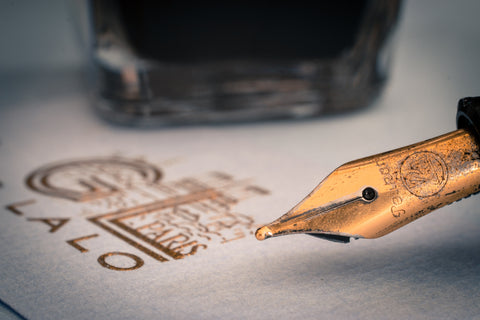
Leave it to the professionals to execute with the other tools, but if you’re a beginner and you want a flawless product, get the appropriate tools based on your style and paper. You don't have to invest in expensive professional tools right away. Craft stores sell beginners’ kits that will take you a long way.
Account for contingency supplies.
Don’t expect to get it right for every attempt, more so if you’re doing the calligraphy for 75 invitations or place cards. Your numb hands might betray you on your 45th or 50th run, so forgive yourself for mistakes along the way. Moreover, make room for extra 10 – 15 invitations, place cards, or whatever material you are working with. Also, take breaks in between sets to rest your eyes and your hands. This will reduce the likelihood of mistakes.
Seeing your DIY wedding projects come to life is rewarding but without planning and practice, you’ll only end up frustrated and empty-handed. Be honest with yourself about the DIY projects that match your capacity and schedule, and invest in the right tools to make it happen.
